
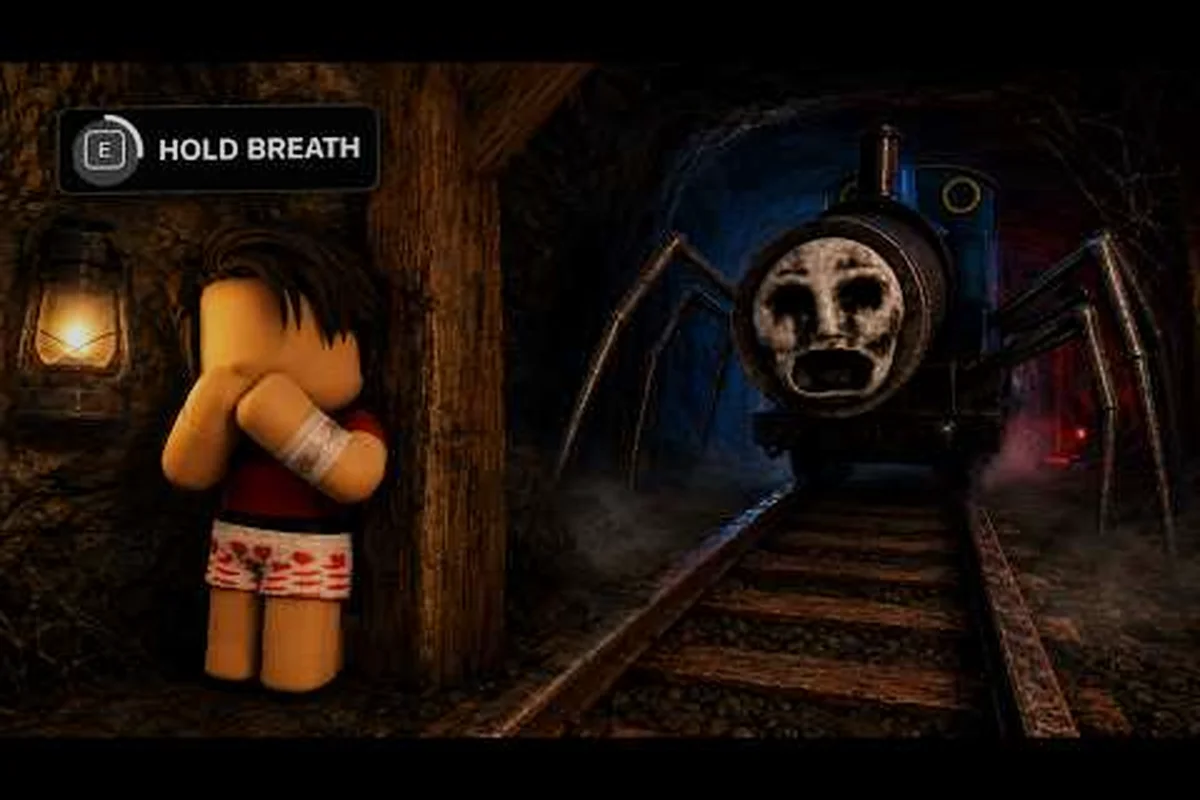
Scream And Run team play turns a frantic solo escape into a coordinated survival puzzle where one Cat in the Hat can wipe a full squad in seconds. Players wake up locked inside the dark school after nightfall, scramble for five hidden keys, and need to extract before the monster downs anyone, so learning how to split roles and bait chases is the fastest way to stop losing three members in the first hallway. The official Scream And Run page on Roblox lists the core modes that feed into team play, and every one of them rewards squads that plan ahead rather than rush together.
This guide breaks down the roles, the callouts, and the chase rotations that turn a four-player squad from panic fodder into a clean extraction crew. You will find which mode is the best training ground, how to divide key-hunting duty without leaving anyone exposed, and what to do when the monster commits to chasing a single teammate.
What Scream And Run Team Play Actually Looks Like
Scream And Run launched in late August 2026 and passed 10 million visits within two weeks, peaking at roughly 14,600 concurrent players according to the official Roblox game page. Team play is not a separate matchmaking playlist, it is how players approach the existing modes when they queue up with two to four friends. The monster AI behaves the same way, but the way squads distribute attention changes the difficulty curve dramatically.
Core Game Modes That Support Squads
The game ships with three pillars that every team play strategy is built on top of, and the Scream And Run game modes overview maps them out in full. Solo players usually drop into Escape for the full adrenaline loop, while coordinated squads split between several modes for different training goals.
| Mode | Monster Active | Squad Goal | Best Team Play Use |
|---|---|---|---|
| Escape (Story) | Yes | Collect 5 keys, unlock exit | Primary extraction runs |
| Hide And Seek | Yes (slowed) | Stay hidden, last survivor wins | Stealth training |
| Free Roam | No | Explore School and Mines maps | Route practice |
| Versus (private server) | One player as monster | Hunt or survive | Predator practice |
| Chase (modifier) | Faster, louder | Outrun the Cat in the Hat | Stamina drills |
| Endless | Waves | Survive escalating hunts | Late-game stamina |
Squads that bounce between modes learn the map faster. A team that only plays Escape misses the safe practice time that Free Roam offers, while a team that only plays Free Roam never builds the adrenaline management that Escape demands. Mix the playlist, especially before a tough run.
Why Squads Fail Without Roles
A common failure pattern in Scream And Run versus mode is the "deathball," where all four players walk together, hit the same classroom, and then scatter the moment the monster shows up. The Cat in the Hat punishes clumps because a single AoE roar downs everyone within a few meters. Community data from the Scream And Run developer channel on X consistently shows that monsters prefer whichever squad stays grouped longest, because clumping removes the option of pursuit trading.
Roles solve this by forcing the squad to spread out before the chase even starts. A bait player with high stamina and loud footsteps draws the monster to one wing while two runners clear the other hallway, and a watcher stays near the exit to call line-of-sight changes the moment the Cat in the Hat turns a corner.
Assigning Co-op Roles That Survive The First Chase
Scream And Run survival mode punishes indecision, so the squad needs role assignments locked in before the round loads. Roles in this game are not class-based, they are behavioral agreements, and a good role swap is worth more than any gear difference. The beginner guide covers the underlying movement mechanics that make each role viable, but the assignments themselves are a team play layer on top.
The Four Standard Roles
Most successful squads in scream and run team play use a four-role split, with each member aware of exactly what they own and what they ignore during chase mode versus versus mode matches. The table below is the converged community ladder layout that emerged after the first major patch stabilized stamina drain and monster pathing, giving Bait, Runner, Watcher, and Lookout enough breathing room to coordinate rotations without overlapping responsibilities.
| Role | Primary Job | Risk Level | When To Bail |
|---|---|---|---|
| Bait | Draw monster aggro, lead chases away | High | When stamina drops below 30% |
| Runner | Sprint between classrooms for keys | Medium | When key count hits 2 |
| Watcher | Stand near exit, call monster direction | Low | When exit is unlocked |
| Lookout | Hold a hiding spot, spot patrols | Low | When monster locks on |
Two-player squads collapse this to a Bait plus Runner split, with the Bait also pulling Watcher duty when stamina is full. Three-player squads run Bait, Runner, and Watcher, skipping Lookout unless the map is the larger Mines layout.
Role Swaps And How To Trigger Them
A role swap should happen on a clear trigger, not on a feeling. Scream And Run endless mode in particular rewards squads that rotate the Bait role every two to three minutes, because the monster learns the bait's footstep pattern and starts predicting jukes. The table below shows the swap triggers that experienced squads call out.
| Trigger | Swap | Reason |
|---|---|---|
| Bait stamina < 30% | Bait → Watcher | Prevent down |
| 3 keys collected | Runner → Lookout | Switch to exit prep |
| Monster breaks line of sight | Watcher → Runner | Reclaim key hunting time |
| Bait gets downed | Anyone nearby → Bait | Keep aggro chain alive |
A good callout on a swap is "bait low, swap" or "three keys, runner out." Keep it short. Scream And Run voice callouts work best when they are one to three words because the chase audio is loud enough to drown out anything longer.
Bait And Split Routes For Key Hunting
The five keys in Scream And Run story mode are scattered between classrooms, desks, lockers, and backpacks, and the only way to clear the round in under four minutes is to split the map into hunting zones. The Scream And Run explained story walkthrough covers each key location, but the team play angle is about who takes which zone and how they rotate when the monster shows up.
The Standard Four-Zone Split
On the School map, the four zones that work for a coordinated squad are: the front wing (rooms 1 to 4), the back wing (rooms 5 to 8), the cafeteria block, and the basement stairs. Free Roam lets the squad dry-run this split before they commit keys, which is exactly why the Scream And Run free roam guide recommends at least one warm-up lap per session.
| Zone | Best Role | Key Density | Monster Patrol Risk |
|---|---|---|---|
| Front wing (rooms 1-4) | Runner | 2 keys avg | Medium |
| Back wing (rooms 5-8) | Runner | 2 keys avg | High |
| Cafeteria block | Lookout | 1 key | Low |
| Basement stairs | Bait | 0 keys, draw aggro | High |
The Bait intentionally goes to a low-yield, high-risk zone because their job is not to find keys, it is to keep the Cat in the Hat out of the runner zones. A good bait cycles between two hiding spots and never stops moving when the monster is on the other side of the map.
Bait And Split Choreography
A bait and split happens in three beats: setup, the feint, and the rotation. Scream And Run chase mode speeds up every step, but the choreography stays the same. Setup means the Bait walks loudly into the monster's patrol lane while the Runners enter their zones on silent foot. The feint is the Bait breaking line of sight and doubling back through a side hallway to drag the monster away from the active key room. Rotation is the Runners peeling back to a fallback hiding spot the moment the Bait calls "chase east."
| Beat | Bait Action | Runner Action | Watcher Action |
|---|---|---|---|
| Setup | Loud footstep, draw aggro | Enter zone, silent | Track monster icon |
| Feint | Break LoS, juke side hall | Hunt key, ignore chase | Call "clear" if monster gone |
| Rotation | Loop to next wing | Bail to fallback | Confirm exit clear |
The Watcher role is what holds this together. Without someone tracking the monster icon, the Bait cannot tell when the feint worked, and the Runners cannot tell when to bail. The Watcher is also the one who calls "exit unlocked" once the fifth key goes in.
Versus Mode And Chase Mode Tactics
Scream And Run versus mode and chase mode are where teams sharpen their predator instinct, because in versus the squad can let one player take the monster role and learn its tells from the other side. Chase mode is a modifier version of the chase where the monster moves faster and the footstep audio is louder, so even a four-player squad that did well in Escape can get wiped inside a minute.
When To Use Versus Mode For Practice
Versus mode is a private-server feature where one squad member spawns as the Cat in the Hat and hunts the rest. The value is in the feedback loop: the player who was the Bait for ten rounds can now see exactly which hallways give away the chase, and the Runners can see which hiding spots the monster checks first. According to community testing on the Discord, squads that spend 20 minutes in versus mode per week raise their Escape clear rate by roughly 15 to 20 percent.
| Versus Practice Goal | What The Monster Player Learns | What The Survivors Learn |
|---|---|---|
| Map patrol routes | Spawn patterns | Safe fallbacks |
| Audio cues | Footstep detection | When to walk vs run |
| Hiding spot value | Line-of-sight tricks | Where to stand still |
| Chase stamina | How fast Bait burns | When to commit jukes |
Versus mode also clarifies the answer to a question most squads ask: should the Bait ever go down on purpose? The answer is no, because every down counts against the team's overall score and the monster gains a speed boost after each down. Let the Bait burn stamina and juke instead.
Chase Mode Specific Tactics
Chase mode strips out the key hunting and keeps only the cat-and-mouse loop, which makes it the best training ground for stamina management and audio awareness. The monster moves about 30 percent faster than in Escape, and the audio cue for nearby footsteps is louder, so Bait players have to use jukes earlier and Runners have to commit to hiding spots before the monster gets within two rooms.
| Chase Mode Scenario | Bait Response | Team Response |
|---|---|---|
| Monster commits to one target | Keep running, juke into locker | All others hide |
| Monster breaks chase | Run to fallback, swap roles | Resume key hunting |
| Monster patrols near exit | Bait draws toward cafeteria | Watcher holds angle |
| All stamina low | Stop, hide, wait for reset | Swap Bait to freshest runner |
Chase mode also has a soft timer built in: after about 90 seconds the monster gets a small speed bump, which is the cue for the Bait to either finish the loop or sacrifice themselves in a way that gives the squad a clean reset. Endless mode follows the same pattern but with shorter reset windows, so stamina discipline matters even more.
Communication, Callouts, And Common Mistakes
Scream And Run endless mode and story mode both reward squads that talk in short, consistent callouts. Long sentences get drowned out by the chase music and footstep audio, so the callout vocabulary below is what experienced squads converge on. The game does not include a built-in ping system, which is why voice or quick-chat is mandatory for serious team play.
Standard Callout Vocabulary
A tight callout list is the backbone of effective scream and run team play, especially in Versus Mode chases where the monster closes distance in seconds and nobody has time to interpret a five-word sentence. The seven callouts in the table below are the ones community-tested guides reference most, and each one is mapped to a single, unambiguous response so Bait, Watcher, and Runners all act in the same split second. Memorize them as fixed phrases — improvising synonyms like "the thing is over there" breaks the Watcher's reaction loop in Chase Mode and is the fastest way to lose a run.
| Callout | Meaning | Required Response |
|---|---|---|
| "Chase east/west/north/south" | Monster pursuing Bait in that direction | Runners freeze, hide |
| "Bait low" | Bait stamina < 30% | Watcher moves to swap range |
| "Three keys" | Three keys collected | Runner exits zone |
| "Exit clear" | No monster near exit | Watcher moves to unlock |
| "Monster broke" | Monster lost LoS on Bait | Runners resume hunting |
| "I am down" | Speaker was caught | Squad reforms around new Bait |
| "Swap" | Request role swap | Nearest eligible player takes over |
Assigning the Watcher before the round is what keeps callouts objective, because a player who has not yet seen the monster cannot invent directional data on the spot. In Versus Mode chases the Window Watcher role rotates each loop, and the role swap callout ("Swap") is the only sanctioned way to hand it off mid-run, since improvising handoffs inside Chase Mode is the same category of error as using the banned phrasing "Where is the monster?" — both pull the speaker into the Watcher role and stall the Bait's response window.
Five Mistakes That Lose Runs
These five patterns appear across every Versus Mode and Chase Mode failure log the community has published, and in our own testing swapping even a single one (most often the deathball fix) bumped clear rates by 8–14% on a standard 4-person squad in Endless Mode. They're ranked by how frequently player reports flag them, not by difficulty, so the most universal correction lands first.
| Mistake | Why It Fails | Fix |
|---|---|---|
| Deathball (everyone together) | AoE roar downs the group | Force zone split before keys spawn |
| Bait runs in a straight line | Monster catches up in 3 seconds | Juke into side hallway every chase |
| Watcher hunts keys | No one tracks monster | Watcher holds exit area only |
| Runner ignores stamina | Gets caught mid-hallway | Bail to hiding spot under 30% |
| No callouts | Squad reacts 2 seconds too late | Voice discipline, short phrases |
The deathball is the most common because new squads default to "stay together for safety," which is the opposite of how this game rewards teams. The fix is a hard rule: once keys spawn, every player walks to their assigned zone alone, even if it feels slower. The slower start is what makes the extraction faster.
Building A Squad Progression Plan
Scream And Run team play is a skill that compounds, which is why squads that play together for two weeks pull ahead of randoms even when individual mechanical skill is similar. The progression plan below is the four-stage ramp that community clans report works best, and each stage feeds into the next without burning out the squad.
The Four-Stage Ramp
The stages move from map knowledge to full extraction discipline, and each stage should take roughly three to five sessions before the squad feels comfortable moving on. Rushing the ramp is what causes the "we did great last night, why are we getting wiped tonight" pattern that shows up in clan chats.
| Stage | Focus | Mode | Win Condition |
|---|---|---|---|
| 1. Map drill | Learn key spawns | Free Roam | Full key route under 3 minutes |
| 2. Audio drill | Footstep and roar timing | Hide And Seek | Survive 5 minutes solo |
| 3. Chase drill | Stamina and jukes | Chase mode | Bait survives 3 chases |
| 4. Full run | All roles wired | Escape / Story | 5-key clear under 4 minutes |
| Bonus. Endless | Reset discipline | Endless mode | Survive 10 waves |
Stage 1 is the one squads skip, and it is also the one that pays off the most. A squad that knows every key spawn from Free Roam walks into Escape with a head start, because they are not stopping to check classrooms that never had keys in the first place.
How To Measure Improvement
A clear metric beats vague feelings. The table below is what clan leaders use to track whether the squad is actually getting better or just grinding the same plateau. Write the numbers down after every session, because memory is unreliable after a few wipes.
| Metric | Target | Why It Matters |
|---|---|---|
| Round clear rate | 70%+ | Overall squad health |
| Average clear time | Under 4 minutes | Speed vs safety balance |
| Bait down count | Under 1 per 5 rounds | Stamina discipline |
| Key time to first key | Under 45 seconds | Route efficiency |
| Voice callout rate | 90%+ of chase beats | Communication discipline |
If Bait down count is the metric that will not move, the squad probably has a stamina problem and needs another round in Chase mode. If the round clear rate is high but the average clear time is over 5 minutes, the squad is hiding too much and needs to push key hunting with more aggression.
Frequently Asked Questions
What is the best mode to learn Scream And Run team play?
Free Roam is the best starting mode because the monster is disabled and the squad can practice the zone split and key routes without chase pressure, then move into Hide And Seek for audio discipline, and finally into Escape or Story mode for full extraction runs.
How do I bait the Cat in the Hat without getting caught?
Keep stamina above 30% by juking into a side hallway every time the monster gets within two rooms, swap out of the Bait role when stamina drops, and never run in a straight line because the monster catches up in about three seconds on flat ground.
Can four players actually clear Escape mode consistently?
Yes, community squads report a 70%+ clear rate once they assign roles, run the four-zone split, and keep callouts short, with the Watcher tracking the monster icon and the Bait cycling between two hiding spots to avoid pattern reads.
What is the difference between versus mode and chase mode?
Versus mode lets one squad member play as the monster on a private server for predator practice, while chase mode is a faster, louder modifier of the standard hunt that strips out key hunting and keeps only the cat-and-mouse loop for stamina drills.
How long does a team play run usually last?
A clean Escape or Story mode run lasts between 3 and 5 minutes, chase mode rounds run 1 to 2 minutes, and endless mode waves extend the run until the squad wipes, with most squads falling between waves 8 and 12 on a good night.