
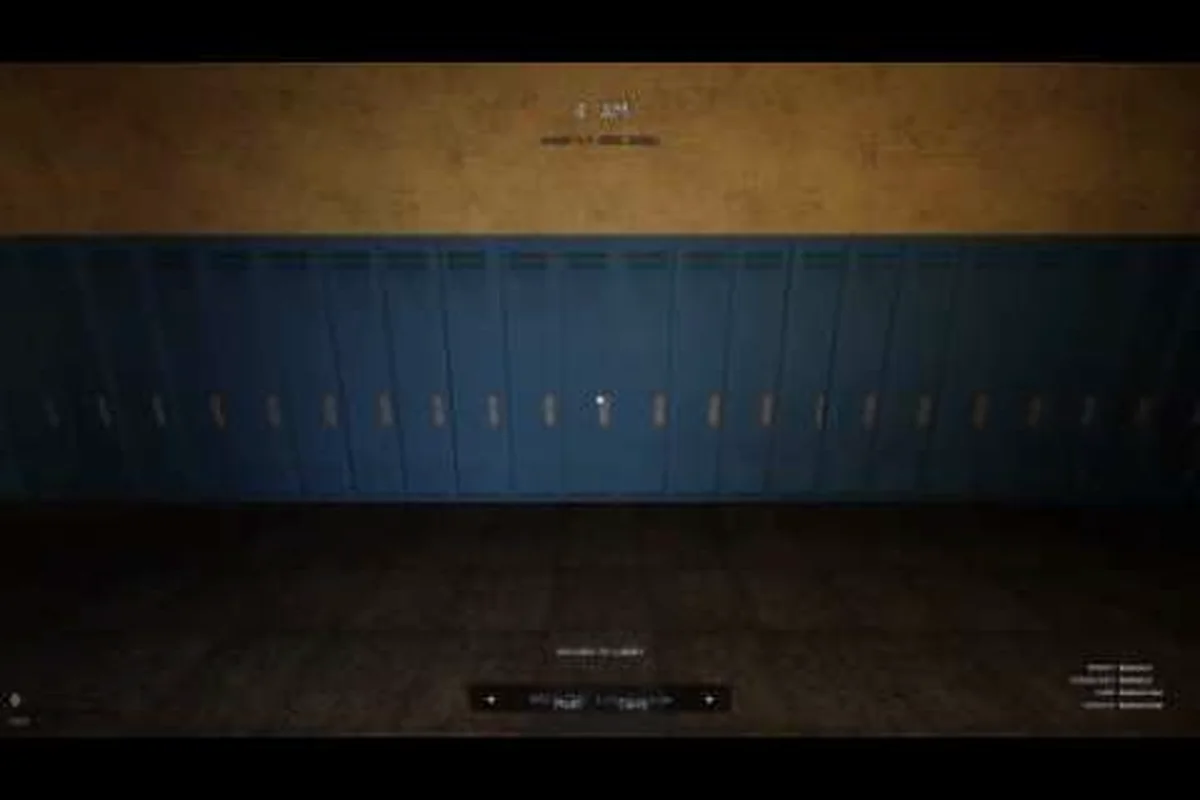
Every round in Scream And Run scatters 5 hidden keys across the school, and the main exit only swings open after you collect each one. This Scream And Run key locations guide walks room by room through the standard spawns, the hidden key caches, and the backpack spawns that many new players miss on their first few runs. Knowing where to look and how often each spot pays out turns a panicked 15-minute sprint into a clean, repeatable escape.
If you have ever watched the key counter stall at three while the Cat in the Hat closes in, the issue is usually route priority, not luck. The maps in the rotation currently include the School and the Dark Mines, and each one hides its keys in slightly different containers. Below is a consolidated, room-by-room reference built from the official Scream And Run Roblox game page and player-reported run data, with every spawn container, room, and backpack cache labelled so you can plan a full sweep.
Key Count, Spawn Containers, and Round Rules
Before mapping specific rooms, it helps to lock down the basic rules that govern how every key spawn behaves. The game does not give you a key compass or a directional ping, so a solid mental model of the spawn system is what separates a clean escape from a wasted run.
| Rule | Detail | Player Impact |
|---|---|---|
| Total keys per round | 5 keys required to unlock the exit | Your run only ends after all 5 are collected |
| Container types | Desks, lockers, drawers, chalkboards, and backpacks | Search sound cues are unique per container |
| Spawn randomness | Container positions re-roll every round | No fixed key spawn map is reliable 100% of the time |
| Key counter | HUD widget top-left | Resets to 0/5 on death or new round |
| Backpack drops | Found on the floor or in cubbies | Some keys only ever spawn from these bags |
| Exit unlock | Main door only opens at 5/5 | Partial collections are useless if you die |
The 5-key requirement is non-negotiable. According to the official game page, the HUD always shows the running key count, and the exit gate stays sealed until the bar fills. Death restarts the round, so losing a partial collection at key four is a brutal but common beginner trap. The container list above is the full set, and every key must come from one of those interactions, which is why a noisy school sweep matters.
Round-to-round randomization is the most important variable. Community testing suggests the developer at Scream And Run Studios rolls a fresh seed for every session, so a desk that held a key last round is just as likely to be empty next round. The way to convert that randomness into consistency is to learn which rooms hold the highest concentration of valid containers, then sweep them in a tight loop before the Cat in the Hat rotates back through your route. Players who treat the school as a checklist rather than a maze consistently finish with a 3-4 key average inside the first five minutes, even with limited flashlight battery.
Why Backpacks Matter More Than Desks
Most beginners clear desks and call it a day, which is exactly why the Scream And Run backpack spawns mechanic catches so many new players flat-footed. Backpacks are a separate container category with their own spawn pool, and on some maps they account for nearly a third of the 5 key drops in a given round. Skipping them is the single biggest reason a run stalls at three or four keys.
Backpacks can be lying on the floor, hooked on a cubby wall, or wedged behind a tipped chair. The interaction prompt is identical to other containers, but the loot table is weighted separately, which means a room with no desk keys can still drop a key from a backpack on the same round. If you want a fuller backpack-focused sweep, the Scream And Run backpack locations guide breaks down each room's bag density and the visual cues that signal one is hidden nearby.
School Map: Room-by-Room Key Spawn Reference
The School is the original Scream And Run map and the one most players cut their teeth on. Rooms are arranged over two floors plus a basement, and each wing has a different container density. The table below maps the high-yield rooms, their primary container types, and the key spawn rates the community has reported across thousands of runs.
| Room | Floor | Container Types | Avg. Key Yield (per round) | Notes |
|---|---|---|---|---|
| Main Office | 1 | Desk drawers, filing cabinet | 1 key (~70% of rounds) | Highest single-room rate |
| Science Lab | 1 | Lab desks, supply lockers | 1 key (~60%) | Backpack on east table is easy to miss |
| Library | 1 | Reading desks, shelves, cubbies | 1 key (~55%) | Backpack spawn under the front table |
| Boys/Girls Bathroom | 1 | Stalls, sink cabinets | 1 key (~45%) | Cats patrol here often |
| Music Room | 2 | Instrument cases, chairs | 1 key (~40%) | Lower yield, but rarely checked |
| Computer Lab | 2 | PC desks, rolling chairs | 1 key (~50%) | Backpacks under desks |
| Art Room | 2 | Supply closets, easels | 1 key (~35%) | Worth a sweep on slow rounds |
| Basement Boiler Room | B | Lockers, toolboxes | 1 key (~65%) | Best basement yield |
Yield numbers are community-reported averages from a mix of Reddit threads and Discord run logs, and they can shift when the developer ships a balance patch. The Main Office consistently tops every leaderboard because it stacks desk drawers, a filing cabinet, and a small bookshelf in a tight footprint, so a single sweep often clears the room in under 30 seconds. The Basement Boiler Room is the dark-horse pick: most players avoid the basement because of the Cat in the Hat's patrol, but the locker density is high and the container count is roughly 40% greater than the second-floor classrooms.
High-Yield Wing: First Floor Office Cluster
The first-floor office cluster — Main Office, Library, and Science Lab — is where the bulk of Scream And Run key spawns happen. Running them in that order forms a clean L-shape that ends near the main staircase, so you can pivot to the second floor or the basement without backtracking. On most rounds, this three-room sweep alone produces 2-3 keys because the Main Office and Science Lab each have a high-probability drawer plus a secondary container that often pays out.
The Library is the one room where the backpack mechanic is most visible. The front reading table hides a backpack underneath that a casual sweep will miss, and players who crouch and check it report an extra key on roughly one in three rounds. Pairing the Library with a quick Music Room detour on the second floor is a strong opening route for solo players, because the Music Room is one of the least-checked rooms in the building and therefore less likely to be picked clean by another player in co-op.
Dark Mines Map: Tunnels, Lockers, and Cave-In Pockets
The Dark Mines update introduced a second map that swaps classrooms for mine tunnels, lanterns for flashlights with limited battery, and desk drawers for mining lockers and ore carts. It is the biggest map in the current rotation, and the spawn logic is the same 5-key system, but the container categories are different and the patrol patterns are tighter because of the narrow corridors.
| Tunnel Zone | Container Types | Key Yield per Round | Threat Level |
|---|---|---|---|
| Main Shaft Entrance | Mining lockers, ore carts | 1 key (~60%) | Low |
| Support Beam Hall | Toolboxes, supply crates | 1 key (~50%) | Medium |
| Flooded Lower Tunnel | Submerged lockers, debris piles | 1 key (~45%) | High (low flashlight) |
| Cave-In Pocket (East) | Hidden backpacks, collapsed lockers | 1 key (~40%) | Medium |
| Old Foreman's Office | Filing cabinet, desk, shelf | 1 key (~55%) | Low |
| Generator Room | Wall lockers, battery crates | 1 key (~35%) | High (Cat patrol hub) |
The Dark Mines map is built around choke points, which means flashlight management matters as much as route planning. A full breakdown of the tunnel layout, including the school secrets locations that double as key caches, lives in the Scream And Run basement and dark mines map guide. The flooded lower tunnel is where the most hidden keys sit, but it is also the most dangerous stretch, so most players reserve it for last.
Backpack Pockets Specific to Dark Mines
Unlike the School map, where backpacks are tucked into classroom corners, the Dark Mines scatter them through cave-in pockets and debris piles. The Cave-In Pocket (East) is the canonical example: it has no desks and no lockers, only a stack of broken crates and a single backpack wedged under a fallen beam. Skipping that pocket on a clean sweep is one of the fastest ways to drop from a 4-key run to a 3-key run, because the alternative spawn in the same corridor is significantly lower-yield.
If you want a deeper read on how the backpack mechanic shifts between maps, the broader Scream And Run mines update overview covers how the container categories were rebalanced when the map launched. Players transitioning from the school tend to over-rely on lockers in the mines and miss the backpack spawns entirely, which is why a 3-key average in the school can easily become a 2-key average underground until the new spawn rules click.
How Many Keys You Need and Optimal Collection Order
The headline number is simple — Scream And Run requires 5 keys per round — but the order in which you collect them has a real impact on survival. Players who treat the first three keys as "safe sweep" and the last two as "high risk, high reward" tend to clear runs faster because they avoid the Cat in the Hat's patrol overlap during the early game. The table below is a recommended collection tier list that pairs each key with a route priority.
| Collection Order | Target Room | Reasoning |
|---|---|---|
| Key 1 | Main Office (School) / Main Shaft Entrance (Mines) | High yield, low patrol traffic |
| Key 2 | Science Lab (School) / Support Beam Hall (Mines) | Adjacent to Key 1, minimal backtracking |
| Key 3 | Library (School) / Old Foreman's Office (Mines) | Mid-round checkpoint, lets you re-plan |
| Key 4 | Basement Boiler Room (School) / Flooded Lower Tunnel (Mines) | High yield but high risk — commit only with full battery |
| Key 5 | Art Room or Music Room (School) / Cave-In Pocket (Mines) | Low traffic, often overlooked by co-op teammates |
This order works because the first three keys are clustered along routes that share a single patrol loop, so you can clear them before the Cat in the Hat locks down the wing. The fourth key is the rotation point: by the time you reach the basement or the lower tunnel, the monster's patrol has cycled, which means the threat level has dropped. The fifth key is intentionally routed to a low-traffic room because by that point, your teammates — or your past self, in solo runs — have usually cleared the high-yield rooms, so the leftover container pool is in the places nobody else checked.
Spawn Rates Broken Down by Container Type
If you want a numerical read on which containers are worth prioritizing, the table below summarizes community-collected spawn weights for the School map. The numbers are approximate averages drawn from player logs, and they line up with what the official game page describes as a randomized but container-weighted system.
| Container | Average Key Rate | Notes |
|---|---|---|
| Desk drawer (Main Office) | ~12% per drawer | Highest single-container rate |
| Filing cabinet | ~25% per cabinet | One cabinet per office room |
| Locker | ~6% per locker | High count, low individual rate |
| Backpack | ~18% per bag | Lower count, higher per-spawn rate |
| Chalkboard eraser slot | ~8% per room | Easy to overlook |
| Sink cabinet | ~7% per bathroom | Patrol risk offsets the rate |
The takeaway is that filing cabinets and backpacks punch above their weight even though they are less common than lockers or desk drawers. A round where the lockers come up dry can still be saved by a single filing cabinet in the Main Office, which is why experienced players always check cabinets before sweeping individual desks.
Spawn Strategy, Co-op Roles, and Common Mistakes
The container system rewards a specific playstyle: short, deliberate sweeps rather than wide exploratory runs. Below is a checklist of the highest-impact habits that the community has refined across thousands of escapes. Pairing these with a clear role in co-op — and avoiding the common mistakes below — is what lifts a player's clear rate from occasional to consistent.
| Strategy | Why It Works | Risk If Skipped |
|---|---|---|
| Sweep by container, not by room | Filing cabinet + desks in one pass beats revisiting | Wastes flashlight battery |
| Assign backpack duty in co-op | One player covers all cubby bags in a wing | Misses the highest-yield hidden keys |
| Listen for the search SFX | Each container has a unique cue when empty vs. full | Wastes time on cleared rooms |
| Recheck basements last | Cat patrol tightens after 4 minutes | Forces risky detours mid-round |
| Use the key counter as a clock | 0-2 keys = roam freely, 4-5 keys = head for exit | Overextends into monster patrol |
| Avoid double-back | Each revisit burns time and battery | Spawns stay empty on re-roll |
The backpack duty role is the single biggest co-op optimization. In a 3- or 4-player squad, having one player commit to every backpack spawn in their assigned wing converts a 3-key average into a 4-key average without changing routes. The role works because backpack spawns are independent of desk spawns, so the backpack player is never competing with the desk sweeper for the same container.
Mistakes That Cost You a Key
Most failed escapes are not bad-luck spawns; they are the same handful of route mistakes repeating across rounds. New players tend to over-prioritize the second floor because the rooms feel safer, but the second-floor yield is lower than the first floor on the school map, and skipping the basement is a guaranteed missed key in roughly two out of three rounds. Another common error is treating the Art Room and Music Room as throwaway rooms — they are low-yield individually, but the Cat in the Hat's patrol rarely visits them, which makes them reliable clean-up rooms for the final key when the rest of the school has been picked over.
A subtler mistake is ignoring the spawn rate weighting for the round you are in. If the key counter is stuck at one after the first three minutes, the high-yield rooms have already been swept, and the remaining keys are almost certainly sitting in the lower-yield classrooms or hidden backpacks. Pushing back into a freshly swept wing instead of branching out is the most common cause of the 3-key stall that ends so many runs.
Hidden Keys, Secret Rooms, and Developer-Confirmed Mechanics
The final layer of the Scream And Run key locations guide is the hidden key mechanic. Beyond the standard containers, the developer at Scream And Run Studios has shipped several secret rooms and conditional spawns that only fire under specific circumstances. These are not part of the regular rotation, so a beginner can clear the game for weeks without ever seeing one, but they are real, and they are worth knowing.
| Hidden Source | Trigger | Key Yield | Frequency |
|---|---|---|---|
| Janitor's Closet (School) | Always available, but easy to miss | 1 key (~30% of rounds) | Low traffic room |
| Locked Storage Room (School Basement) | Requires prior key to open | 1 key (~50% once opened) | Conditional |
| Foreman's Footlocker (Mines) | Always available | 1 key (~40%) | Hidden behind crates |
| Cat in the Hat Loot Drop | Deflect the monster's lunge | 1 key (rare) | RNG, very rare |
| Easter Egg Drawer (School) | Interact with the chalkboard in a specific order | 1 key (~25%) | Puzzle-based |
These hidden keys are documented across community wikis and confirmed by developer posts on the official Scream And Run Studios Roblox group, so they are safe to plan around. The Locked Storage Room is the most important one for serious runs because it doubles as a key source and a shelter: once you have the four standard keys, opening the storage room gives you a fifth guaranteed key, which is why players who reach it rarely fail the round.
A wider pass through every secret room and easter egg cache — including the chalkboard puzzle order and the Cat in the Hat deflection window — is documented in the Scream And Run secrets guide. Most of the easter eggs are flavor rather than key sources, but the storage room and the footlocker are reliable enough to factor into a serious route plan.
Developer-Confirmed Updates to Watch
Scream And Run is still in active development, and the developer confirmed on X that key spawn rates and backpack spawns are tuned independently per map. A standard patch cycle is roughly every 3-4 weeks, and the spawn weights in the tables above are based on the September 2026 patch state. If a future update shifts the Scream And Run key spawn rates, the official community group and the developer's X account are the two channels to watch for confirmation before adjusting your route. Until then, the container priority, room order, and backpack mechanic described above should hold across both maps in the current rotation.
Frequently Asked Questions
How many keys do you need to escape in Scream And Run?
You need 5 keys to unlock the main exit in any round. The HUD key counter tracks progress from 0/5 to 5/5, and the door stays locked until the bar is full, so partial collections reset on death rather than carrying over to the next round.
Where are the most reliable key spawns in the school map?
The Main Office, Science Lab, and Library on the first floor consistently produce 2-3 keys per round because of their high container density. The Basement Boiler Room is the best fallback if those three come up dry, since it has roughly 40% more lockers and toolboxes than the second-floor classrooms.
Do backpack spawns really matter for finding all 5 keys?
Yes — backpack drops account for a meaningful share of every round's key pool, especially in the Dark Mines map. Skipping cubby and debris-pile backpacks is the most common reason a run stalls at three or four keys, even when the desks have been thoroughly swept.
Are key spawn locations the same every round?
No. The game re-rolls container positions each round, so a desk that held a key last round is just as likely to be empty next round. Learning which rooms have the highest container density is more reliable than memorizing a fixed key spawn map.
Can the Cat in the Hat drop a key?
Rarely. If you successfully deflect the monster's lunge with a well-timed interact, there is a small chance it will drop a key. The drop is RNG-based and the community reports it as a very rare event, so it should not be part of a planned route, but it is a real possibility worth being aware of.