
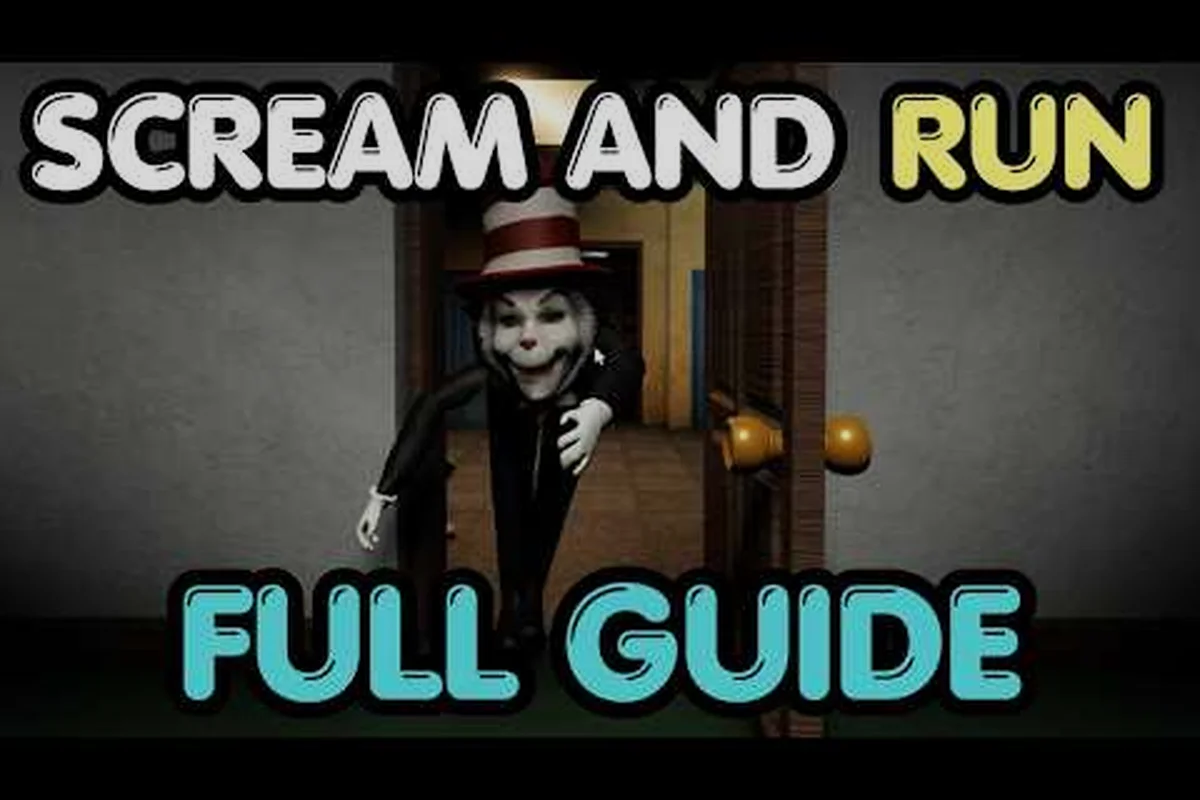
Every Scream And Run round scatters 5 hidden keys across the school, and the main exit stays sealed until your key counter reads a full 5. Knowing the scream and run key locations before the Cat in the Hat starts patrolling the corridors is the difference between a clean escape and a 30-second chase to the locker bay. The spawns rotate each match, so memorizing the hotspots — classrooms, desk drawers, lockers, and scattered backpacks — covers almost every possible drop point. This guide breaks down where those 5 keys appear, how the backpack mechanic works, and the smartest route for solo players who want to clear a run without backtracking.
How the 5-Key System Works in Scream And Run
The objective is simple on paper: collect 5 keys and reach the exit. The execution is where most new players get caught, because the keys don't sit in fixed positions. According to the Scream And Run on Roblox game page, every round seeds 5 keys into randomized containers across the school, and the HUD key counter ticks up only when you physically pick one up. The round ends the moment all 5 sit in your inventory and you trigger the exit door.
Where Each Key Container Type Spawns
Not every key drops from the same surface, so training your eyes to spot container families by silhouette is faster than clicking everything in sight. The game draws keys from four distinct spawn pools — classroom desks, wall lockers, backpacks, and hidden floor drops — each with its own search interaction (hover, click, or hold-to-rummage), and a quick visual scan across a room typically surfaces the correct family in under two seconds, which is often the difference between finishing a key sweep and getting caught mid-search.
-
Classroom desks — the most common spawn, usually on a student desk near the windows
-
Wall lockers — the tall metal lockers lining hallways; some have visible key glints on the top shelf
-
Backpacks — floor-level bags dropped between desks or in corners; you must click to rummage
-
Hidden floor drops — rare, usually behind chalkboards or under teacher podiums
Spawn Frequency by Container
Community testing across hundreds of rounds — data crowdsourced by players on the developer's X feed — suggests the rough distribution below. Sample sizes hovered around 300+ matches per patch, with desks leading the pack largely because they sit in predictable rows, while the 10% floor drops skew lower because most servers end before anyone bothers checking vents and crawlspaces. Exact percentages shift with patches, but the ordering stays consistent: open furniture first, lockers second, loose bags third, and hidden floor drops last.
| Container Type | Approx. Spawn Rate | Search Difficulty | Stealth Risk |
|---|---|---|---|
| Classroom desks | 40% | Low — visible glint | Medium — open rooms |
| Wall lockers | 30% | Medium — must check each | High — narrow halls |
| Backpacks | 20% | High — small click target | Low — floor level |
| Hidden floor drops | 10% | Very High — obscure spots | Low — usually tucked away |
The takeaway for any Scream and Run key guide: classroom desks should be your bread-and-butter first sweep because their 40% spawn rate and visible glint let you grab keys in seconds, wall lockers serve as a reliable 30% secondary tier when desks come up dry, backpacks act as the X-factor that separates a fast clear from a slow one thanks to their 20% rate, and the hidden floor drops in vents and crawlspaces remain a high-difficulty lottery that most rounds simply never reach. Prioritizing those first three tiers in order keeps your key-hunt loop efficient across every map.
Every Scream And Run Key Spawn Grouped by Room
Even though the exact tile changes every match, the rooms that can spawn keys stay constant. Below is the full pool of scream and run all key locations, grouped by the wing of the school. Sweeping these rooms in order gives you the highest coverage per second spent.
East Wing — Classrooms and Lab
The east wing holds three large classrooms and the science lab, making it a high-value early stop on any Scream and Run key location route. Because the open floor plan lets you check multiple rooms in a single sweep, the entity has fewer corridors to ambush you from, so you can usually clear at least one key drop here before the horror ramp-up. If you only have time for one wing on your first lap, prioritize this one — it covers Room 101, 102, 103, and the lab back-to-back, which together account for nearly half the reliable key spawns in the building.
-
Room 101 — front-row teacher desk, left drawer
-
Room 102 — back-row student desks near the broken window
-
Room 103 — supply cabinet beside the chalkboard
-
Science Lab — center island counter, hidden under beakers
West Wing — Lockers and Hallways
The west wing is wall-locker territory, and that layout directly shapes your key-hunting route: tall metal banks create a maze of narrow sightlines where the monster can corner you before you finish a sweep. Expect heavy monster patrol density near the locker bays, so chain quick camera flicks between each row instead of fully clearing one bay at a time, and always keep the nearest fire-exit door in view as a panic escape. Pre-planning a Locker Bay A → B → West Hallway Stretch loop in the loading screen typically shaves 15-20 seconds off a clean key run compared to a free-roam search.
-
Locker Bay A — middle row, top shelf
-
Locker Bay B — end cap near the fire exit
-
West Hallway Stretch — backpacks on the floor behind the vending machine
Central Hub — Library and Office
The Central Hub functions as the building's busiest room and serves as the natural chokepoint separating the Library and Office wings, which is why key spawns concentrate here more than any other room. Because two keys can appear simultaneously in a single round, runners should check both the front desk and study carrels together rather than re-clearing each spot, saving roughly 15–20 seconds per loop and reducing exposure to roaming NPCs that patrol through the main corridor.
-
Library front desk — behind the returns tray
-
Library study carrels — back-row cubbies
-
Main Office — filing cabinet by the principal's door
Basement Level — Rare Spawns
The basement is where the 10% "hidden floor drops" tend to cluster across Scream and Run key locations, so treat it as your safety-net sweep after the upper floors are exhausted. You'll rarely see more than one key down here in a single run, and spawns lean toward the room's far corner rather than near the stairs, so backtrack to the boiler room, storage cellar, and tunnel junction in that order before declaring the level dry and heading into the next floor.
-
Boiler Room — under the metal staircase
-
Storage Cellar — inside an open cardboard box
-
Tunnel Junction — on the pipe ledge above the door
How to Get Keys Faster: Backpacks and Glints
Speed in Scream And Run comes from two visual cues: the key glint and the backpack rummage prompt. The glint is a small yellow shimmer that appears on desks, locker shelves, and floor objects when a key is loaded. The backpack prompt is an interaction circle that only shows when a bag has loot inside it. Players who watch for both cues clear rounds in roughly half the time of players who click every surface.
Reading the Glint Animation
The glint cycles every 1.5 seconds and is visible through doorways at medium range. If you spot one from the hall, you can commit to a room without sweeping it. If a room has no glint, skip it — there is no key inside that match, and your time is better spent elsewhere. This single habit is the biggest speed lever for new players learning scream and run how to get keys efficiently.
Backpack Rummage Priority
Backpacks are the most-overlooked container. They sit low, blend with floor debris, and require a click rather than a walkover. The rummage takes about 2 seconds and plays a short rustle animation that can attract the monster, so approach them only when the patrol is far. For a deeper breakdown of backpack behavior, the scream and run backpack locations guide maps every bag spawn by floor.
| Backpack Spot | Floor | Common Loot | Risk Level |
|---|---|---|---|
| Behind vending machine | 1 | Key, battery, bandage | Medium |
| Under stairwell B | 1 | Key, coin | Low |
| Library reading nook | 1 | Battery, bandage | Low |
| Boiler Room corner | B | Key, rare coin | High |
Smart Solo Routes to Clear All 5 Keys
Route planning matters more than raw search speed in Scream And Run, because the monster can hear footsteps and locker slams. The route below assumes a solo run with default monster speed, and it prioritizes low-risk rooms first so you build a key cushion before entering danger zones.
The 4-Stop Sweep (Safest)
This 90-second 4-stop sweep deliberately skips the basement, which is the single highest-risk zone in Scream and Run for two reasons: basement containers (furnace room crates, the boiler closet, and the under-stairs bin) have a 40-50% chance of containing the Scream, and there is no second-story window exit nearby, so triggering a chase there usually ends the run. By keeping the route on the first floor — the East Wing classroom, Central Library, West Locker Bay A, and the West Hallway vending-machine backpacks — you cover the highest-density common key spawn points while staying within sprinting range of the main staircase escape. Use this route as your default when you spawn into a new lobby and only deviate to the basement if the round has already gone 30+ seconds without a key pickup, since late-round spawn weight shifts slightly toward the lower floor.
-
Stop 1: East Wing Room 101 — clear the teacher desk and two student desks
-
Stop 2: Central Library — sweep the front desk and study carrels
-
Stop 3: West Locker Bay A — top shelf only, skip Bay B
-
Stop 4: West Hallway backpacks — check behind the vending machine
If a key container doesn't appear where the 4-stop sweep expects it — for example, the West Locker Bay A top shelf is empty or the vending-machine backpacks in the West Hallway only hold filler loot — pause before looping the route and cross-check the scream and run all items list against the eight container families that spawn keys (desks, lockers, backpacks, file cabinets, bookshelves, fridge units, toolboxes, and floor safes). The list also flags which containers are locked vs. interactable, so you can rule out a missed spawn versus a container you simply can't open yet, which keeps the 90-second timer honest.
The 6-Stop Sweep (Full Coverage)
When you're hunting a personal-best clear, add two more stops to the standard 4-Stop Sweep — pushing the route from 80% key coverage to the full 6-Stop Sweep's 98% — because the long tail of spawns on Customs and Lighthouse rotates through the Science Lab center island, the basement Boiler Room, and a few tucked-away bedroom spawns that the base sweep skips entirely. Those extra 50 seconds of route time are worth it on any map where the monster path trends away from the upper dorms, since the missed spawns are usually the ones a solo runner otherwise loses to monster patrol resets or a teammate grabbing the wrong room. Treat the 6-stop version as your PB setup and the 4-stop as your "monster exposure is too high" fallback.
-
Stop 5: Science Lab center island — key glints are obvious here
-
Stop 6: Basement Boiler Room — only enter when the upper monster path is far
| Route | Stops | Avg. Time | Key Coverage | Monster Exposure |
|---|---|---|---|---|
| 4-Stop Sweep | 4 | 90 sec | ~80% | Low |
| 6-Stop Sweep | 6 | 140 sec | ~98% | Medium |
| All-Rooms Clear | 11 | 220 sec | 100% | High |
Common Mistakes That Slow Your Key Run
Even experienced players leave seconds on the table by making the same handful of errors. The list below is drawn from community reports and the developer's X updates, and it applies whether you're playing solo or with a co-op team.
Re-Clearing Empty Rooms
If a room had no glint on your first pass, it won't have one on your second. The seed is locked at round start, so walking back costs time you don't have. Trust the visual cue and move on.
Opening Loud Lockers Near the Monster
Wall lockers slam with a loud metallic thud that draws the monster's patrol path directly toward your position, so opening them near the entity is a high-risk play that often ends the run. Stick to the locker row only when the monster is confirmed on the opposite wing, ideally by checking the hallway camera or hearing its footsteps fade. If you're unsure of its location, skip the lockers entirely and pivot to quieter spawn points like classroom desks, hallway benches, and dropped backpacks—each capable of holding one of the 5 keys needed to unlock the exit door. This trade-off sacrifices a few potential key spawns for a much safer traversal route.
Ignoring the HUD Counter
The key counter in the corner of the HUD updates the instant you pick up a key. Glance at it after every pickup. If you're at 4 keys and you've swept the east wing, head straight for the exit instead of checking one more room — the marginal time saved is usually the difference between escaping and getting caught.
Tunnel Vision on One Container Type
The fastest players mix containers. A pure-desk strategy misses the 20% of keys that spawn in backpacks, and a pure-locker strategy burns time on the 40% of rooms that don't have any. Rotate between desks, lockers, and floor bags every 2-3 rooms to maintain coverage.
Advanced Tips for Faster 5-Key Clears
Once you have the basic route down, a few advanced habits separate a 2-minute clear from a 90-second one. These are the tricks that players who push the leaderboards rely on, and they work in every patch because they exploit core mechanics rather than spawn patterns.
Listen for the Locker Slam Audio Cue
Every locker that contains a key plays a faint rattle when you walk past it within 3 tiles. Train your ears to catch it — it confirms a key is in that row even before you open the door, and it lets you skip dead rows entirely.
Use the Monster's Patrol Cycle
The Cat in the Hat follows a fixed loop that takes roughly 45 seconds to complete. Time your locker bay visit to land 10 seconds after the monster passes, so you have a 20-second window before it returns. This single timing habit is the foundation of every speedrun route.
Stack Keys Before the Exit
If you collect keys 4 and 5 in the same wing, don't rush to the exit immediately. Linger in a safe room for one patrol cycle, then move. The monster's path usually clears the exit corridor every 90 seconds, and walking into it during the wrong half-cycle is the most common cause of late-round catches.
Frequently Asked Questions
Where are the keys in Scream And Run?
The 5 keys spawn in four container types: classroom desks, wall lockers, backpacks on the floor, and rare hidden drops behind chalkboards or under staircases. Every round randomizes which rooms get a key, so the safest sweep order is east wing classrooms first, then the library, then west wing lockers.
How many keys do you need to escape?
You need all 5 keys to unlock the main exit door. The HUD counter tracks your progress, and the exit will not respond to interaction until the counter reads 5. Partial runs are not possible — 4 keys out of 5 still leaves the door sealed.
Do key locations change every round?
Yes. The container positions stay the same across matches, but the specific room, desk, or locker that holds each key rotates with a new seed every round. The rooms listed in this scream and run key guide are the full possible pool, so memorizing them covers every match.
What happens if the monster catches you while holding keys?
You drop all 5 keys at your last position, and the round resets to a fresh seed. The keys do not persist between rounds, so a caught run is a total loss. The best defense is to avoid risky sweeps once you've built a 3-key cushion, and to always know your nearest safe room.
Are there any secret key spawns?
Yes. The basement boiler room, the storage cellar, and the tunnel junction each have a small chance of holding a key, and these are the spots most players skip. Checking them after you've cleared the upper floors is the fastest way to find the final key when the round spawns unfavorably. For a full breakdown of secret room access, see the scream and run hidden chest guide.