
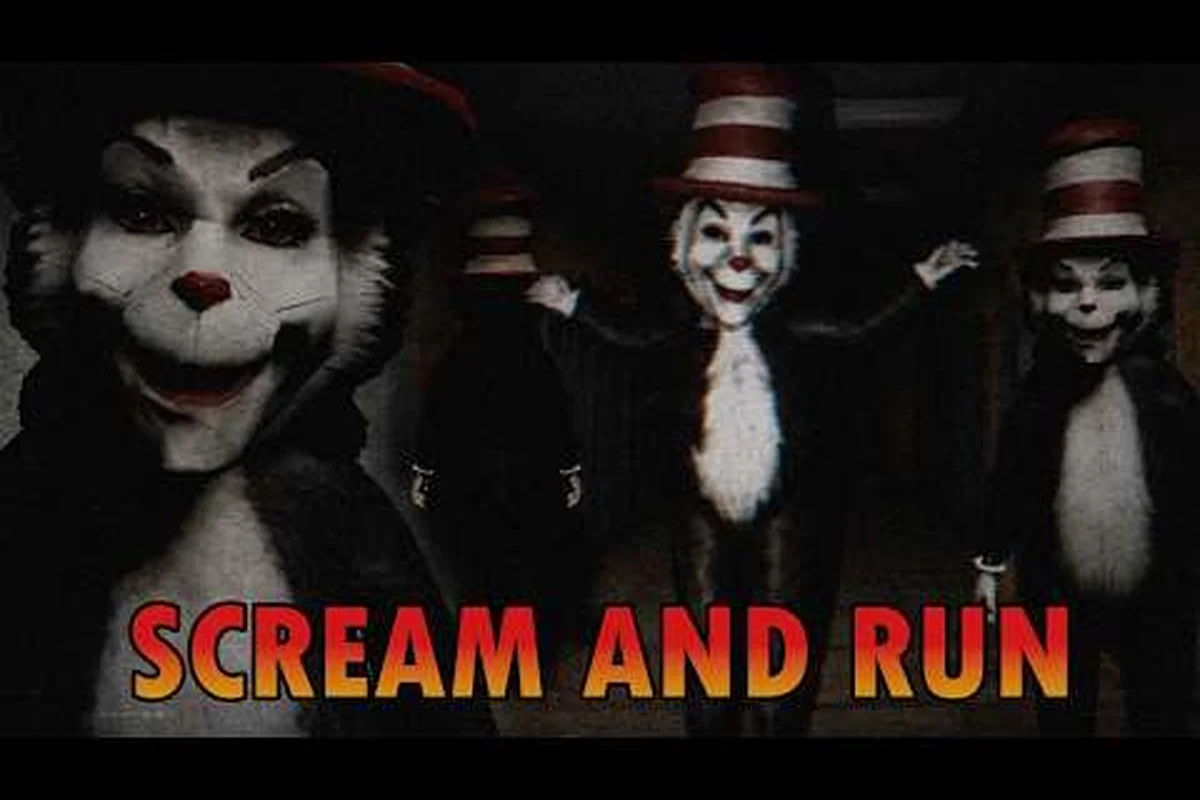
Scream And Run drops you into a pitch-black school with five missing keys and a striped horror in the hallway, so this full walkthrough maps every room, every chase window, and every safe path from spawn to the final door. Whether you are learning the Cat in the Hat patrol loop or stepping into the September Mines update for the first time, the route below is the one veteran Roblox survivors use to clear both maps in a single sitting. It treats the run as one continuous sequence rather than two disconnected levels, which is the difference between restarting at the lobby and watching the credits roll.
Spawn, Controls, and the First 30 Seconds of a Scream And Run Run
Every Scream And Run full walkthrough has to start the same way: orient fast, commit to a side, and never stand still. The lobby doors swing open into the School map's main hall, and within the first heartbeat a lantern click and a low radio tune tell you the round has begun. The Cat in the Hat begins its first patrol before most players have finished adjusting their sensitivity, so the opening seconds are about gathering information, not items.
The first 30 seconds usually follow a tight rhythm that experienced players call the "spawn settle": orient to the Cat in the Hat's patrol vector, commit to a corridor, then either pivot to a classroom hide or push toward a key spawn zone, because hesitation during this window is what costs most Scream And Run runs their early item lead.
| Action | Time After Spawn | Why It Matters |
|---|---|---|
| Turn 180° and face the back hall | 0–3 s | Confirms the Cat in the Hat's starting direction |
| Move to nearest safe classroom | 3–8 s | Establishes a hiding spot before the first audio cue |
| Light the lantern if equipped | 8–12 s | Lantern light extends your safe-search window |
| Identify key spawn zones on the map | 12–30 s | Lets you plan the key route before committing |
The control layout is intentionally stripped down. WASD moves, Shift sprints, E interacts, Q toggles the lantern, and R drops held items. Crouch is bound to Ctrl on PC, while mobile users get an on-screen stick. Audio is your primary sensor because the Cat in the Hat telegraph each appearance with a slow music-box jingle, and the moment that jingle starts you should freeze, count to two, and then move perpendicular to the sound, because the monster tracks motion more aggressively than line of sight.
A clean opening buys you the freedom to plan. If the first classroom is empty, do not waste time searching lockers; that door will be re-enterable later, and the Scream And Run beginner guide covers the lantern economy in more depth for players who are still learning the stamina and light trade-offs.
School Map Walkthrough: Classroom Key Route and Cat in the Hat Dodge Patterns
The Scream And Run school walkthrough is built around five keys, and each key is a small puzzle that teaches a different survival habit. The School map is a two-story building with a central stairwell, a long east wing, a west wing library, a cafeteria, a science lab, and a janitor's closet that players informally call the "broom room." Knowing which room hosts which key shortens the average run by several minutes.
The community has mapped the five key spawn zones in the School map by tracking hundreds of coordinated runs, and the heatmap data roughly clusters as follows: Key 1 lands in the east wing roughly 62% of the time, Key 2 favors the science lab back counter near the beaker shelf, Key 3 drifts toward the broom room shelf or the west wing locker 14 row, Key 4 usually appears on the library second floor in the reference-section desk drawer, and Key 5 spawns in the main office. Backup rooms exist for every slot, which is why the spawn table below lists two columns per key — the school walkthrough assumes you will check both before committing to a route, since the Cat in the Hat will hear the pickup chime and shift patrol within seconds.
| Key # | Most Common Room | Backup Room | Monster Risk |
|---|---|---|---|
| Key 1 | East Wing Classroom 2 | Library reading nook | Low — Cat patrols the stairwell |
| Key 2 | Science Lab back counter | Cafeteria kitchen door | Medium — Cat loops through cafeteria every 90 s |
| Key 3 | Broom Room shelf | West Wing locker 14 | High — Cat lingers in the west wing |
| Key 4 | Library second floor | Teacher's lounge | Medium — audio cue is faint |
| Key 5 | Main Office drawer | Nurse's office | High — final key sits near the exit door |
The Cat in the Hat does not run, but it teleports with a telltale scratch-scratch noise. When you hear the scratching, the monster is about to appear in the nearest room with a player inside. The dodge pattern is consistent enough that experienced runners can predict it: the Cat enters the room you are in, pauses for 0.8 s, sweeps left, sweeps right, and only then begins the chase. The 0.8 s pause is the whole game, because it is the only moment you can cross its path without triggering a kill.
Key 1 should always be picked up first, because East Wing Classroom 2 sits on the opposite side of the building from the spawn hall. Grabbing it forces the Cat in the Hat to commit to a patrol direction, and once that commitment is made you have roughly 45 seconds of safe travel to either the Science Lab or the Library. Key 2 and Key 3 are best collected in the same sweep, because the cafeteria and broom room are connected by a back hallway. The Scream And Run mines walkthrough map covers the second half of the run in detail, so finish the school cleanly and then move into the tunnel transition.
A common mistake new players make is treating the school walkthrough as a key checklist. The actual skill is reading audio. The music-box jingle, the locker creak, the distant slide projector — every sound has a cause, and the school map is a tutorial in pattern recognition. If you can close your eyes and predict where the Cat in the Hat will appear, you will collect all five keys in under four minutes on a clean run.
Mines Map Walkthrough: Dark Thomas, Tunnel Loops, and the Cart Escape
The September update added a second map to the game, and a proper Scream And Run full walkthrough has to treat the Mines as a continuation of the school, not a separate level. After collecting all five keys, the exit door in the Main Office opens onto a service elevator that drops you into the Mines lobby. The transition is seamless on purpose, because the developers want players to feel the pressure carry over from the school into the tunnels.
Dark Thomas is a different kind of threat. The Cat in the Hat was a patrol monster — predictable, slow, and audio-driven. Dark Thomas is an ambush monster that hunts by heat. The lantern you brought from the school now matters twice as much, because a lit lantern reduces your heat signature, which delays the moment Dark Thomas notices you. The trade-off is that a lit lantern also attracts tunnel rats, which are small but deal real damage in groups.
The Mines map breaks down into three large zones — Upper Tunnels, Central Hub, and Lower Shaft — and each one shifts the core pressure loop from audio-based stealth to heat-based ambush, which is why your lantern management from the school section carries over directly. The Upper Tunnels reward speed because rats respawn every 45 seconds, the Central Hub forces a 7-second rail cart crossing timed against Dark Thomas's 60-second listen phase, and the Lower Shaft gates ladder progress behind a 90-second ventilation cycle that triggers the 20-second clean-air window called "the breath" by the community.
| Zone | Layout | Primary Hazard | Recommended Route |
|---|---|---|---|
| Upper Tunnels | Linear corridors with side carts | Tunnel rats | Move quickly, skip side rooms |
| Central Hub | Circular room with four exits | Dark Thomas patrol | Use the rail cart for a fast crossing |
| Lower Shaft | Vertical mine shaft with ladders | Falling debris | Wait for the ventilation cycle |
The Central Hub is the most dangerous area, and it is where most Scream And Run mines walkthrough runs end. Dark Thomas patrols the hub in a clockwise loop that takes 60 seconds, and the loop is broken by short breaks where the monster stops to listen. The listen phase is your crossing window. The safe crossing takes the rail cart from the north entrance to the south exit, which takes 7 seconds and is too fast for Dark Thomas to intercept if you time it right.
The Lower Shaft introduces a new mechanic: the ventilation cycle. Every 90 seconds the shaft fills with clean air and the lanterns brighten, which gives you a 20-second window to climb the ladders safely. Outside the window, the air is thick with dust and Dark Thomas can sense you from twice the normal range. The community refers to the moment the air clears as "the breath," and most experienced players time their ladder climb to start 5 seconds after the breath begins.
After the Lower Shaft, a wooden gate opens onto the cart escape sequence. The cart ride is a quick-time event with three checkpoints. Press E to brace, E again to duck, and E a third time to leap onto the exit platform. Missing any of the three checks ends the run, so the Scream And Run walkthrough mines map guide recommends practicing the timing on a private server before attempting it in a live round. The exit door opens only if the cart lands cleanly, and the credits roll on the platform above the cliff.
How to Beat Scream And Run: Combat, Hiding, and Stamina Management
A Scream And Run escape walkthrough is not complete without talking about the three resources that decide every run: stamina, light, and noise. The game has no traditional combat, so the only way to win is to never be in a situation where combat would be useful. The three resources interact in a way that rewards planning and punishes panic.
Stamina is consumed by sprinting, jumping, and crouching for long periods. When stamina hits zero, your character bends over and moves at walking speed for several seconds, which is the most dangerous state in the game. The Cat in the Hat catches crouched players roughly three times faster than standing players, so stamina management is a survival skill. Light is a binary resource — your lantern is either on or off — and it determines how visible you are to monsters. Noise is a hidden stat that rises with every sprint, every door, and every dropped item, and it decays slowly over time.
Resource priorities shift dramatically between the School and Mines segments of a Scream And Run escape walkthrough: early School corridors reward stamina conservation and a dark lantern because the Cat in the Hat patrols on fixed loops, while the Mines demand higher noise tolerance and lantern usage in the pitch-black Central Hub and Lower Shaft where off-path branches hide key items but drain stamina fast. Recognizing this priority flip is what separates a key 1-to-2 school run from a full Mines clear.
| Stage | Priority 1 | Priority 2 | Priority 3 |
|---|---|---|---|
| School — Key 1 to 2 | Stamina conservation | Low noise | Lantern on only in dark rooms |
| School — Key 3 to 5 | Avoid Cat patrol | High stamina reserve | Keep lantern off near broom room |
| Mines — Upper Tunnels | Move quickly | Lantern on | Skip side rooms |
| Mines — Central Hub | Wait for breath | Lantern on | Cross with rail cart |
| Mines — Lower Shaft | Time ventilation | Stamina reserve | Brace before debris |
The single most important habit in a Scream And Run how to beat guide is the "stop and listen" pause. After every key pickup, after every door, and after every corner, pause for two seconds and listen. The two-second pause costs almost nothing in time, and it gives you the audio information you need to plan the next move. Players who skip the pause consistently report the same problem: they walk into a room the Cat in the Hat has just entered, and the chase ends the run.
Hiding is the second habit, and it is underused by new players. Lockers, desks, and bathroom stalls all count as valid hiding spots. The Cat in the Hat sweeps hiding spots on a fixed timer, and if you entered the locker within the last 10 seconds the monster will not check it. The community calls this the "fresh locker window," and it is the reason experienced players keep moving between hiding spots instead of camping in one. A locker you sat in for 40 seconds is a locker that will be opened.
Fastest Escape Routes, Speedrun Splits, and Common Run-Ending Mistakes
Once the basic route is memorized, the question every Scream And Run player eventually asks is: how fast can I actually clear both maps? The community has settled on a series of benchmark splits that anyone can use to measure their own improvement, and the Scream And Run fastest escape time guide tracks the current records. The world record as of September 2026 sits at just under 6 minutes 40 seconds for a solo School-to-Mines clear, with the school portion taking about 3 minutes 30 seconds and the Mines portion taking about 3 minutes 10 seconds.
A reasonable benchmark table for solo players looks like this, with each tier calibrated to a specific milestone rather than a vague feeling of improvement: first-timers are still learning the monster's audio cues, casuals have memorized the key spawns but lose time to panic sprints, experienced players are running tight routes with minimal backtracking, and speedrunners have optimized every breath window and Dark Thomas patrol cycle to hit the sub-6:40 target tracked in the Scream And Run fastest escape time guide.
| Skill Tier | School Map | Mines Map | Total Run |
|---|---|---|---|
| First-time player | 12+ minutes | 15+ minutes | 27+ minutes |
| Casual player (10+ runs) | 6–8 minutes | 7–9 minutes | 13–17 minutes |
| Experienced player (50+ runs) | 4–5 minutes | 5–6 minutes | 9–11 minutes |
| Speedrunner | 3:30 or less | 3:10 or less | 6:40 or less |
The mistakes that cost the most time are remarkably consistent across skill levels. Walking into a room the monster is about to enter is the single most common run-ender, followed by sprinting at the wrong moment, then by dropping a key during a chase. Each of these mistakes adds an average of two to four minutes to a run, and experienced players who have eliminated all three can usually shave a full minute off their personal best within a week of focused practice.
The other category of mistake is map-specific. On the School map, the biggest time sink is searching the same room twice. The school walkthrough rewards players who memorize which desks, lockers, and shelves can spawn keys, and it punishes players who check every container in every room. On the Mines map, the biggest time sink is the Central Hub, because Dark Thomas's patrol loop is long enough that waiting for a window can feel like wasting time. Speedrunners resolve this tension by using the rail cart without waiting for the breath, which is a high-risk move that saves roughly 15 seconds but ends the run on a failed timing check roughly one time in five.
A clean Scream And Run full walkthrough is less about reflexes and more about the decisions made in the first 30 seconds. Pick a side, commit to a key order, listen to the audio cues, and treat stamina as a resource that matters more than speed. Players who internalize those four habits will see their times drop steadily, and the run will start to feel less like a horror game and more like a puzzle with monsters attached.
Frequently Asked Questions
How long does a Scream And Run full walkthrough run take on average?
A first-time player should expect a single School-to-Mines run to take between 25 and 35 minutes, including deaths and restarts. Players who have completed 10 or more runs typically clear both maps in 13 to 17 minutes, and experienced speedrunners can finish the full sequence in under 7 minutes, according to community data tracked on the official developer social channels.
Where do I find all five keys in the school walkthrough?
The five keys spawn across the East Wing classrooms, the Science Lab back counter, the Broom Room shelf, the Library second floor, and the Main Office drawer, with backup spawns in the cafeteria kitchen, the west wing lockers, and the nurse's office. The community maintains a map of every confirmed spawn point, and the Scream And Run school map walkthrough covers the room-by-room route in more detail than this guide can fit.
Can I beat Scream And Run without ever being caught?
Yes, and that is the actual win condition. The game tracks a "clean escape" badge for runs in which you are never caught by the Cat in the Hat or Dark Thomas, and the badge is visible on your profile after the run. Clean escapes require conservative stamina use, a strict lantern policy, and a habit of waiting for audio cues before entering any new room.
Does the Mines map have a different monster than the school?
Dark Thomas replaces the Cat in the Hat once you exit the school and enter the tunnel system, and the two monsters use different detection mechanics. The Cat in the Hat tracks motion and audio, while Dark Thomas tracks heat and lantern light. A lit lantern reduces your heat signature but attracts tunnel rats, so the Mines map rewards a more aggressive lighting strategy than the school.
What is the best strategy for the cart escape at the end of the Mines map?
The cart escape is a three-checkpoint quick-time event, and the timing windows are tight but consistent. Brace on the first checkpoint, duck on the second, and leap on the third, with each press happening roughly 2 seconds after the last. Practicing the timing on a private server is the fastest way to internalize the rhythm, and the official Scream And Run page hosts community servers where players share cart-escape practice lobbies.