
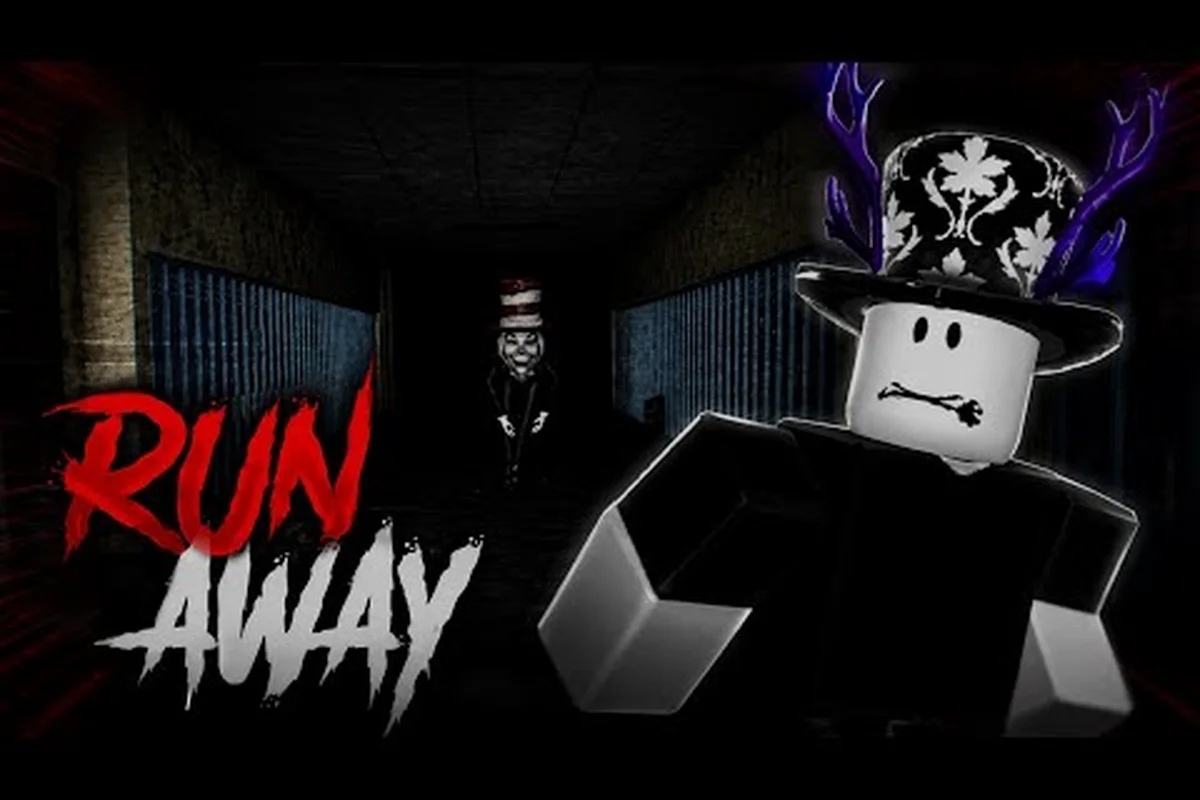
Learning the Scream And Run default controls before your first match can mean the difference between escaping the school and becoming the Cat in the Hat's next trophy. The Roblox survival horror experience is built around a tight set of PC keybinds that control noise, stamina, and visibility. Mastering the basic Scream And Run controls in your first 10 minutes is critical because every action — from sprinting to crawling — directly influences whether the monster detects you.
Core Movement Keybinds in Scream And Run
The Scream And Run default controls revolve around a five-button foundation that controls how you move, how loud you are, and how visible you stay inside the dark school. The full Scream And Run PC controls are designed so every movement choice has a trade-off between speed, noise, and stamina cost. According to the official Scream And Run game page on Roblox, this noise-based movement system forms the core of the entire experience.
Standard WASD Movement
Standard WASD movement governs everything in Scream And Run. The W key pushes your character forward, S walks you backward, and A and D let you strafe left and right while keeping your camera orientation locked. This forms the baseline against which every other input is measured. The default walk speed is the quietest your character can be without holding additional keys, so newcomers often overlook how much noise even basic footsteps generate on certain surfaces.
| Key | Action | Noise Level | Stamina Cost |
|---|---|---|---|
| W | Walk forward | Low | None |
| S | Walk backward | Low | None |
| A | Strafe left | Low | None |
| D | Strafe right | Low | None |
| Space | Jump (mid-walk) | Medium | None |
Sprint, Crouch, and Crawl Layering
What separates Scream And Run controls from a standard Roblox experience is the layered movement system. You can stack actions on top of each other to perform four distinct locomotion states: walk, sprint, crouch-walk, and crawl. Each state produces a different noise output and stamina drain, which the Cat in the Hat uses to track you through hallways and classrooms.
| State | Activation | Speed | Noise | Stamina Drain |
|---|---|---|---|---|
| Walk | Hold W/A/S/D | 100% | Quiet | None |
| Sprint | Hold Shift + W | 165% | Loud | 8 per second |
| Crouch | Hold C | 55% | Very quiet | None |
| Crawl | Hold C while in a tight gap | 35% | Silent | None |
| Slide | Hold Shift + C | 120% | Loud burst | 15 one-time |
If you need a deeper breakdown of how the slide button works in specific chase scenarios, the Scream And Run slide button keybind guide covers timing windows and keybind remapping. The Shift + C slide is the most stamina-expensive single action in the game, so it should be reserved for panic moments rather than routine movement.
Stamina Management and the Scream And Run Stamina Bar
The Scream And Run stamina bar is the single most important resource you manage during a match, and your Scream And Run keybinds interact with it in three distinct ways: passive drain while sprinting, burst drain while sliding, and recovery when standing still. Understanding these interactions is the first step toward a successful escape.
How Stamina Drains and Recovers
Stamina behaves like a fuel gauge attached to the bottom of your screen. Walking, crouching, and crawling do not drain stamina, but sprinting and sliding both do. Recovery happens only when you are standing still or crouch-walking; sprinting prevents any regeneration, which means mashing Shift in a panic will leave you with an empty bar at the worst possible moment.
| Action | Stamina Drain | Recovery Allowed? |
|---|---|---|
| Walking | 0 | Yes (slow) |
| Crouch-walking | 0 | Yes (slow) |
| Sprinting | 8 per second | No |
| Sliding | 15 (one-time) | No |
| Standing still | 0 | Yes (fast) |
| Crouch + standing still | 0 | Yes (fastest) |
Noise vs. Stamina Trade-Offs
Every choice you make with the Scream And Run default controls is a trade-off between speed, silence, and stamina. Sprinting is the fastest way to cross an open hallway, but it costs 8 stamina per second and broadcasts your position to the monster. Crouch-walking keeps you quiet and lets stamina regenerate, but at 55% walk speed you cannot outrun the Cat in the Hat once it has locked onto you. Crawling is essentially silent, yet at 35% speed you will not escape a chase unless you have already broken line of sight.
The practical lesson, reported by players on community threads, is to sprint only when you have a clear destination in mind — a locker to dive into, a corner to round, or a classroom to enter. If you sprint blindly down a long corridor with no exit plan, the stamina bar will empty before you reach cover and the Cat in the Hat will close the gap in seconds.
Flashlight, Interact, and Inventory Controls
Beyond movement, the Scream And Run PC controls include utility inputs that govern your flashlight, interaction prompts, and inventory access. These Scream And Run keybinds are context-sensitive: the same key that opens a locker in one room might pick up a key in another, and the same key that toggles your flashlight in the main lobby might be used for a puzzle input mid-chase.
Flashlight Toggle and Battery
Pressing F toggles your flashlight on and off. The flashlight is your primary tool for reading desk labels, spotting key glints inside lockers, and navigating the darker corners of the school. It also makes you visible to the Cat in the Hat from a much greater distance than walking without it, so leaving it on during a chase is one of the most common mistakes new players make.
| Key | Action | Notes |
|---|---|---|
| F | Toggle flashlight on/off | Drains flashlight battery over time |
| E | Interact with object | Pick up keys, open lockers, read notes |
| Q | Drop held item | Used to drop a key if you grabbed the wrong one |
| Tab / I | Open inventory | View collected keys and flashlight battery |
The flashlight battery lasts long enough for a full match under normal use, but toggling it on and off rapidly during a chase will drain it faster than players expect. Community testing suggests that leaving the flashlight off until you reach a search area — then toggling it on for 5-10 seconds to scan — extends battery life by roughly 30% compared with keeping it on continuously.
Interact, Pick Up, and Drop
The E key is your universal interaction input. It opens lockers, picks up keys from desks, reads scattered notes, and triggers puzzle elements. Holding E on a locker door opens it; tapping E on a glowing key picks the key up. The Q key is reserved for dropping a held item, which is useful when you accidentally grab the wrong key or need to distract a teammate in co-op. For a full walkthrough of how these interaction prompts chain together during an escape run, the Scream And Run tutorial for new players covers the full search-and-collect loop from spawn to exit.
Sprinting, Hiding, and Chase Survival
The Scream And Run default controls are designed to support three distinct combat-avoidance phases: approach, chase, and hide. Each phase uses a different combination of keybinds, and the players who escape consistently are the ones who transition between phases deliberately rather than panic-pressing every button at once.
The Approach Phase
During the approach phase, you are searching classrooms, lockers, and backpacks for the five hidden keys. The optimal keybind setup is to crouch-walk between search points, toggle the flashlight on only when scanning a desk, and sprint only when crossing long sightlines where the Cat in the Hat cannot see you. This is the quietest, most stamina-efficient playstyle, and it lets you collect keys without ever alerting the monster.
| Phase | Primary Keys | Stamina Strategy |
|---|---|---|
| Approach | C + W, F (briefly) | Keep stamina near full |
| Chase | Shift + W, Shift + C (slide) | Spend stamina to gain distance |
| Hide | C (crouch), F (off) | Recover stamina behind cover |
The Chase Phase
When the Cat in the Hat begins pursuing you, the Scream And Run controls shift to a different priority: raw speed. Release C, hold Shift, and sprint toward the nearest classroom or locker. If a locker is within two seconds of sprinting distance, sprint directly into it; if a corner is closer, slide around it with Shift + C and immediately crouch on the other side. The slide costs 15 stamina in a single burst, so it should be saved for the exact moment the monster rounds the corner.
Players who specialize in chase survival often remap their sprint key to a mouse button, which feels more responsive than Shift on a busy keyboard. The Scream And Run sprint controls and flashlight guide walks through the remapping process and explains why the default keybinds are designed the way they are.
The Hide Phase
Once you have broken line of sight, the hide phase begins. Release Shift, hold C, and find a corner, a desk, or a locker. The Cat in the Hat will continue moving toward the last position it saw you, so crouching behind a tall object — a teacher's desk or a row of lockers — usually breaks its detection cone. Stay crouched until the monster's patrol indicator visibly moves away from your hiding spot, then crouch-walk to the next search area.
Mobile, Console, and Remapping Considerations
The Scream And Run PC controls described above are the default for keyboard and mouse, but the game also supports touch input on mobile devices and basic gamepad support on consoles. If you play on multiple platforms, knowing how the Scream And Run keybinds translate will save you from fumbling during tense moments. The Scream And Run console and mobile controls overview covers Xbox, PlayStation, and touch layouts in detail.
Why the Default Controls Are Designed This Way
The default Scream And Run keybinds place movement on the left hand (WASD) and modifiers on the right hand (Shift, C, F). This split mirrors the layout used by most PC horror and shooter games, so experienced players can drop in without a learning curve. The choice of Shift for sprint and C for crouch is intentional: both keys are large, easy to find without looking, and located under the strongest fingers of each hand. For a deeper explanation of how each key was chosen and what alternatives are available, the Scream And Run how-to-run and movement guide compares the default scheme against common alternatives.
When to Remap Your Controls
Remapping makes sense once you have played at least 20 matches and noticed a specific input causing repeated mistakes. Common reasons to remap include moving sprint from Shift to a mouse button (to keep your left pinky free), swapping crouch from C to a side mouse button, or moving the flashlight toggle from F to a key closer to your movement hand. The in-game settings menu allows full remapping on PC, and your custom layout is saved per device, so you can keep a separate scheme for keyboard and a different one for gamepad without conflict.
Frequently Asked Questions
What are the Scream And Run default controls on PC?
The Scream And Run default controls use WASD for movement, Shift to sprint, C to crouch or crawl, Shift + C to slide, F to toggle the flashlight, E to interact with objects, and Q to drop held items. These keybinds are designed so movement, noise control, and utility actions never share the same finger.
How does the Scream And Run stamina bar work?
Stamina drains at 8 per second while sprinting and 15 in a single burst when sliding, but does not drain while walking, crouching, or crawling. Stamina only regenerates when you are standing still or crouch-walking, so releasing Shift is the only way to refill the bar during a chase.
Can you remap Scream And Run controls?
Yes. The in-game settings menu on PC allows full remapping of every keybind, including sprint, crouch, slide, flashlight, interact, and drop. Console versions support limited remapping through the system-level button mapper, while mobile players can adjust touch layout from the pause menu.
What is the best keybind setup for beginners?
Beginners should keep the default Scream And Run keybinds for at least the first 20 matches to build muscle memory, then consider moving sprint to a mouse button once the rest of the scheme feels automatic. Avoiding custom layouts early prevents the confusion of switching schemes when a friend invites you to a co-op lobby.